It was another great week at Grand Oaks Timber Framing, as usual, when 9 new timber framers arrived from Alabama, Colorado, Idaho, Illinois, Kansas, Pennsylvania and Wisconsin. This group was my GOLD Star class! Not only did they cut a really nice looking timber frame, but they cut every piece in the frame and finished a day early! A first at Grand Oaks. This was a very talented group and I know that their own projects in the future will be excellent work!
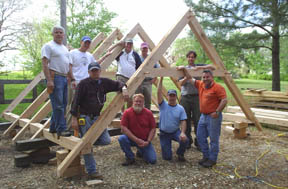
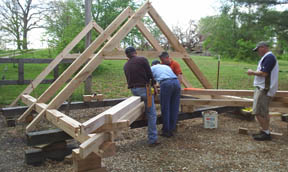
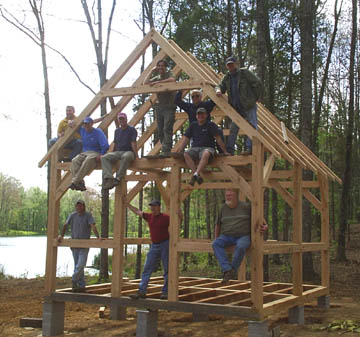
April 2007 class standing with their trail fitted rafters.
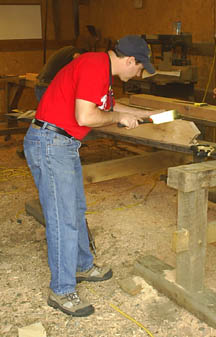
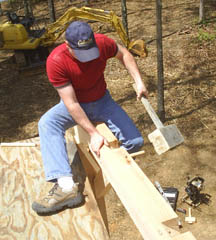
Using a pull saw on a tenon.
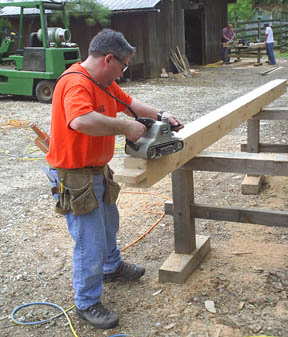
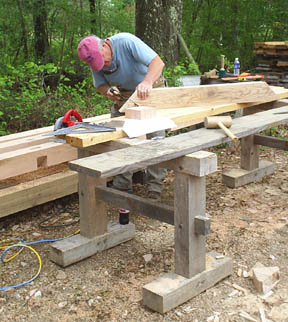
Sanding a beam after all of the joinery is complete.
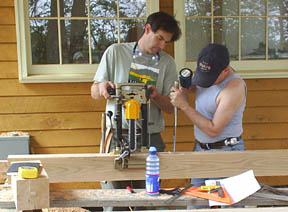
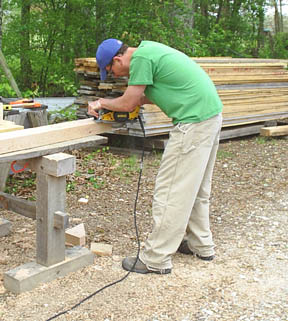
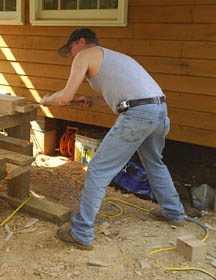
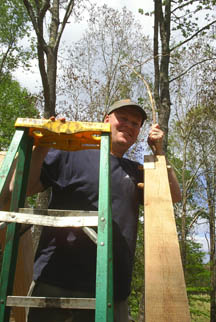
Getting the chain mortiser set up on a post.
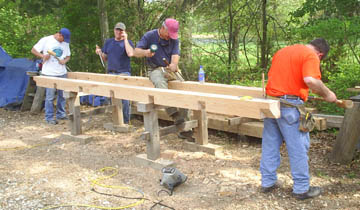
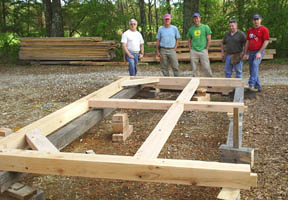
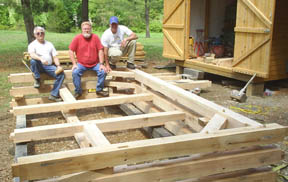
Literally, a "plate" full of timber framers. This group worked amazingly well together. Almost like they have been building timber frames together for years!
Finishing up a brace tenon with a handsaw.
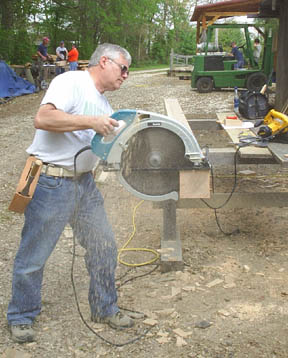
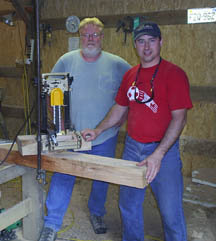
Much of the work can be done with a small circular saw, but most new timber framers like to take a try at the big 16" saw (below) while they are here.
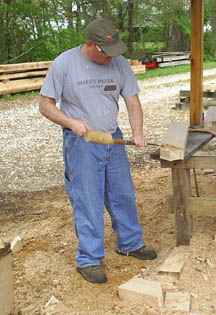
But even with the availablity of power tools, the chisel and mallet will always be important tools for the traditional timber framer!
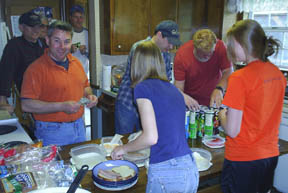
The "Timber Top Sub Shop" is where you will find everybody at lunchtime!
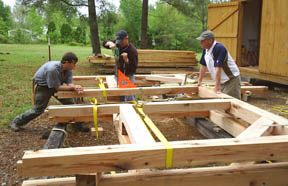
"Persuading" the first bent together!
A happy and successful crew assembles their first bent.
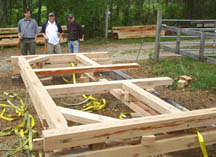
The next bent with the door opening is strapped tight, drilled and pegged together.
This bent which includes the door opening went together very nice.
This great looking middle bent was the last to be assembled before all of the bents were loaded on a trailer to be moved to the raising location.
These innovative participants fashioned a jig for the mortiser that allowed them to mortise at a 45 degree angle. A new idea comes out of all of these workshops!
Pegging and trial fitting the rafters.
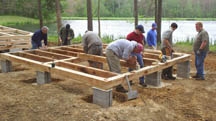
Installing the dovetailed floorjoists in preparation for the raising.
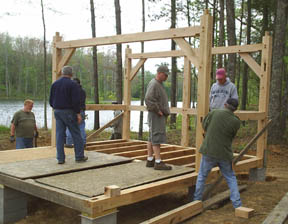
The first bent goes up!
The middle bent follows quickly and the wall girts lock the two bents together.
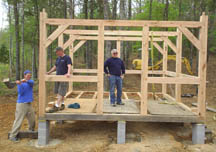
And the final bent is pegged into position.
The plate is set on top of the posts and pegged into postion.
The rafters are raised into postion. Only 3 more to go!
An evergreen bough is attched to the final rafter to pay homage to the timbers.
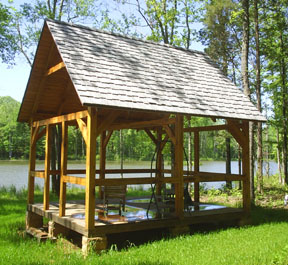
History is made again with another hand cut timber frame at Grand Oaks. This timber will be standing next to this small lake for generations to enjoy, thanks to this talented group of timber framers!
I found the timber framing workshop to be exactly what I wanted and needed, and then some!! What a great, great time! And what a terrific bunch of guys. It really couldn't have been better.
L.S. , Idaho
Outstanding class. Outstanding instruction.
Outstanding experience. You have sent me in new directions.
Thanks,
E. M., Alabama
Thanks again for a great week and for the hospitality your whole family showed us. It was a fun and learning week. We look forward to getting the chance to cut our own frame some day.
R. V., ILLINOIS
Thanks for a great class and the wonderful hospitality of your whole family.
I learned a lot. I feel like I acquired the skills and
knowledge I need to get
started and had fun doing it.
Thanks so much,
RJ, Kansas
I, too, had a great time. I've already hauled home my timbers to make a set of sawhorses.
T.M., Colorado
I want to thank you for a great learning experience. I have the confidence now to build my own timber frame with the knowledge you have provided during your course.
M.L., Alabama
Thanks Scott and thanks to everyone for a great week. I really enjoyed meeting all of you and also working as a team.
B.T., Pennsylvania
Follow up photo 1 year later in May, 2008. Owner has roofed the timberframe, stoned the foundation pillars and put down a deck on the floor joists.